There are a variety of wallet options for decentralized applications (dApps) offered in Arweave, and there needs to be multiple integrations to manage interactions with each option. Arweave Wallet Kit streamlines this process with a unified solution that supports ArConnect.io, Arweave.app and Othent.io and allows users to interact via their favorite wallet.
Arweave Wallet Kit offers this solution to developers through a set of React hooks and components.
Let's dive into a quick tutorial on integrating Wallet Kit in a NextJS application in 3 easy steps.
Integrating Arweave Wallet Kit in NextJS
For this tutorial, you will be working with NextJS version 14 in an App Router Setup and a freshly scaffolded Next app via create-next-app.
1. Install the Module
The first step is installing Arweave Wallet Kit as a dependency. Open a terminal within your application and run:
yarn add arweave-wallet-kit

#or

npm i arweave-wallet-kit
2. Wrap Your Application in the Wallet Kit Provider
The next step is wrapping your application in the Wallet Kit Provider, enabling the use of its features throughout the application. You will do so by heading to `app/layout.tsx` and wrap the children as follows:
import { ArweaveWalletKit } from "arweave-wallet-kit";

// other code...

    <html lang="en">
      <body className={inter.className}>
        <ArweaveWalletKit>{children}</ArweaveWalletKit>
      </body>
    </html>
This ensures all the sub components and pages have access to Wallet Kit's features. The Wallet Kit provider also includes optional customizations, like defining the permissions that users connect with, the name of the app users are connecting to, the preferred Arweave gateway to use for the connection and more.
3. Add a Connect Button
The final step is to add a connect button that allows users to interact with the wallet connection process. Arweave Wallet Kit provides a dedicated component for this purpose that can be imported and implemented as follows in a suitable location in your application:
import { ConnectButton } from "arweave-wallet-kit";

// other code...

<ConnectButton showBalance={true} showProfilePicture={true} />
This connect button comes with customizable features, allowing users to tweak the theme, display the connected user's wallet balance, and additional profile details. The provided example showcases how these customizations can be implemented.
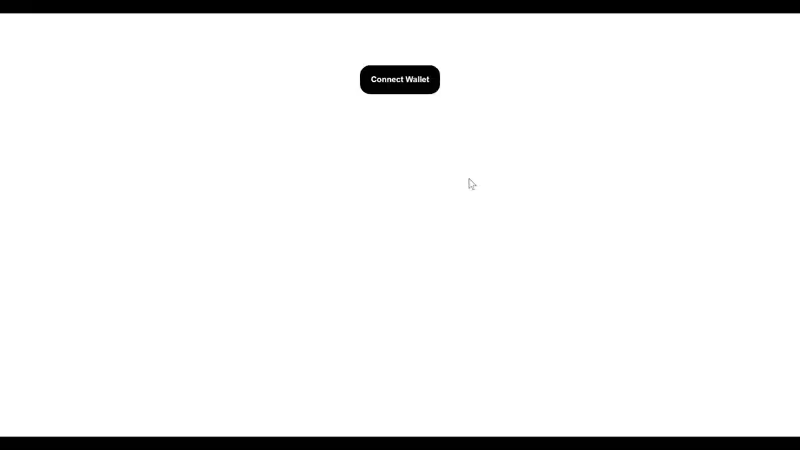
And here's a quick visual guide demonstrating how users experience the wallet connection process with this integration.

Next Steps
Explore the full potential and customization of Arweave Wallet Kit, dive into its comprehensive documentation, and tailor the integration for your app's requirement.
Need assistance or want to share your build? Checkout our Community Discord.
And follow us on X for the latest updates in the Arweave ecosystem.


